
The Ultimate Guide to Microphones for Academics, Scientists, and Educators in 2021

If you’re like most academics, scientists, or educators you probably feel like you were thrown into the deep end when the pandemic hit.
I’m guessing you found yourself needing to care about something you had never really thought of before: microphones.
Maybe you’re here because you’re not sure if you need a microphone yet.
Or maybe you’re here because you’re ready to buy a microphone and want to spend your money wisely.
Either way, I’ve got you covered in this ultimate guide to microphones for academics, scientists, and educators.
Speaking of which, let’s make sure you’re in the right place and that this advice will be helpful to you.
This blog post is for academics, scientists, educators, and similar professionals who need to:
Create online course videos (asynchronous teaching)
Deliver live classes (synchronous teaching)
Give online webinars or conference presentations
Give other important online presentations (e.g., job talk and teaching demo)
Have good sound even with noisy backgrounds, and without having a sound booth
In this guide, you’re going to learn:
1. Who needs a microphone?
2. Why it’s important to have good audio for your course videos, lectures, and webinars
3. What you need to know when buying a microphone
4. What microphone to buy (and which one to avoid)
5. What microphone accessories to buy
6. Tips for decent audio
7. Bonus: Take your audio to the next level
Before we get started, you should know that this isn’t a tech blog. My primary focus is training professionals on how to create engaging presentations.
I created blogs/videos about this topic because I wanted to make sure all the hard work my training participants put into creating better slides didn’t go to waste with terrible audio when delivered via webinar or course video.
If you will be using your mic to give presentations (synchronous or asynchronous) then make sure you have great slides to go along with your great audio.
I have a FREE training video to get you started on that piece:
1. Who needs a microphone?
That’s easy!
If you’re still reading this post, then you do!
The people who need microphones are people who do one or more of the following:
Create online course videos (asynchronous teaching)
Deliver live classes (synchronous teaching)
Need to give an online webinar or conference presentation
Need to give another important online presentation (e.g., job talk and teaching demo)
Microphones aren’t just for podcasters, voice over actors, and musicians. Academics, scientists, and educators should use them too.
2. Why it’s important to have good audio for your course videos, lectures, and webinars
I get it — you have a lot of things to worry about right now and you’re wondering why you should add “good audio” to the list.
Let’s first distinguish between good audio vs. bad audio, just to make sure we’re on the same page here.
You have bad audio if your audience can hear:
Your hair or shirt crunching against the mic (which happens 100% of the time people use Apple headphones!)
Loud and/or constant background noises (cars driving by, AC/heat noise, lawn mowing, neighbors shouting)
Desk noises (mouse clicks, keyboard clicks, hitting the desk)
An echo-y, tinny, or empty sound
Your mouth noises
You have good audio if it’s:
Not distracting
Neutral
Basically, you have good audio if your audience doesn’t even notice your sound. If your sound is obvious is some way, then it typically means you have a bad audio setup.
Again, I say this to emphasize that this blog post is not for people who want to do voiceover acting or something.
I just want you to have decent audio that people don’t get annoyed by. This is not a blog post to help you have hollywood-style audio!
Ok. so why should you get yourself setup with good audio?
There are a few reasons why you should prioritize having good audio, rather than pushing this to the backburner.
Bad audio gets in the way of educating your audience
Question for you: what is your purpose for sharing information?
When you create a course video, or you give a lecture/webinar, what do you want to achieve?
I’m guessing your answer falls along the lines of: educate my audience.
Right?
You’re sharing information so that your audience knows something new, or does something different, or is otherwise changed in a positive way.
Alright. I think we’re on the same page.
New question: How likely are you to achieve that goal if your audience gets irritated every time you speak?
You’re smart. You know it’s going to be unlikely.
I bet you’ve already experienced this when you’re trying to learn something new.
Have you ever wanted to listen to a podcast, but you just couldn’t because the guest (or host) sounded terrible. Or, there was an annoying background noise you couldn’t ignore?
Or have you tried to watch a webinar, but you couldn’t hear the presenter because their audio was too soft?
Or have you been annoyed with that feature where people start off talking quietly and then they gradually get louder? Or just generally getting frustrated with inconsistent sound volumes.
When you experience bad audio like that, what do you do? If you’re like most people, they:
Stop listening
Try to listen, but feel stressed out and overwhelmed and end up remembering a lot less than they would have if the audio was decent
Exactly.
That’s because humans can handle terrible video much more than we can handle bad audio.
The reason for this is because quality audio takes less cognitive effort to process. When you ease the cognitive effort of your listeners, they’ll be more likely to stay engaged with the entire webinar or video.
This idea is talked about in the film industry and the marketing industry a lot, and I’m trying to let the educational sector know, too.
Now, maybe it doesn’t actually bother you that much. Maybe you can ignore the dog barking nonstop in the background of that webinar.
But most people can’t.
And remember: you’re presenting this information for them, not for you.
Bad audio means your presentation is inaccessible
I’m a big fan of universal design for learning.
Part of that involves trying to present information in ways that work for the most people. It involves having a lot of empathy for your audience.
So I want you to think of your audience.
I mean REALLY think of them, and the different emotions, abilities, and experiences they’re bringing to your presentation or video.
For example, if a student is trying to watch your lecture at home with their younger siblings playing in the background, they’re (probably) going to have earbuds in.
Now I want you to think about their experience of (a) already trying to listen to you while being super stressed out and in a noisy environment, while (b) then having to hear your dog — or your neighbor’s dog — barking directly into their poor little eardrum the entire time you’re talking.
Maybe it’s not a dog barking. Maybe it’s the fact that your microphone keeps clipping — which happens with poor quality microphones and with Blue Yeti’s — which means a loud, sharp and distorted noise keeps shooting directly into their ear canal.
Or maybe it’s the nonstop crunching they have to hear because your hair or shirt is rubbing up against your Apple headphones.
Is that the type of learning environment you want for your students?
Probably not.
And it’s not just students.
Think about your colleagues and the various types of disabilities or disorders that make these types of distractions annoying and impede their learning.
Hi, 👋 this includes me. I have Eustachian Tube Dysfunction, recurring tinnitus, and extremely sensitive ears. I had ear tubes (as an adult) for a couple years, which made everything louder.
During that time, bad audio was physically excruciating and sometimes even triggered my vertigo. I’m better now, but still very sensitive to sounds compared to most.
But this isn’t just about me. The examples of bad audio above will likely make it difficult for people who have ADHD, Auditory Processing Disorder, Misophonia.
Plus, sound sensitivity is also something that Autistic people can experience. I’m sure there are more, but this is not my area of expertise.
I do know, however, that trying to make sure I have clean, clear, nondistracting audio quality is good for everyone who can hear—disability or not.
Bad audio means your prep work was all for nothing
So let’s take all this to the next logical conclusion: if your bad audio means you aren’t able to truly educate your audience and/or you unintentionally presented in an inaccessible way…
…then it means the prep work you did to prepare that lecture or presentation was all for nothing.
Recording videos or delivering webinars takes a LOT of time and energy. All of that time and energy is wasted when you have bad audio because people will just tune you out
Or, worse, you might have to re-record videos if you want them to sound good. That means you have to record (and edit) videos twice instead of once, and that’s a waste of your time!
That’s why I started talking about microphones in the first place.
I wanted to make sure that the folks I trained in engaging presentation design weren’t spending all this time creating great slides, only to have people not even want to listen to them during their webinar or course video.
3. What you need to know when buying a microphone
Hopefully you’re here because you’re convinced that you need a microphone.
Yay! Your future audience thanks you!
So now let’s start talking about how to choose the right microphone.
What counts as a “real microphone.”
This isn’t to be a snob. I just want to make sure you don’t waste your money on something you think is a good enough microphone, when it isn’t.
What does NOT count as a microphone:
The microphone included in Apple Headphones, Airpods, or other headphones you use to talk on your cell phone
The microphone included in a webcam
The microphone included in headphones (e.g., Bluetooth gaming headset)
The microphone included in your computer or laptop
Do you see the pattern here?
A microphone doesn’t count if it’s included inside another device.
If you think the audio on any of those devices is “good enough” — then I have to give a little tough love here and say it’s really not.
No, not even that $150+ bluetooth headset for gaming sounds good. You sound like you’re underwater. Or under an airplane.
Or both, somehow.
I do a lot of video calls as part of my presentation training services, and I’ve never heard anyone sound good on a headset. Stop using them for this purpose, please.
I’m sorry. I’m not trying to ruin your day. I’m trying to make sure you meet your goals when giving a presentation.
Don’t believe me? Watch that video linked above to hear the difference between a real mic vs. those other kinds of mics.
A real microphone is just that: A microphone. A one-purpose device.
What DOES count as a microphone:
A quality external USB microphone
An external XLR microphone
I tell you exactly which microphone I recommend you buy in the next section.
For now, there’s something else I want to mention as you’re thinking about microphones to buy.
It’s a GOOD thing when your audience can see your microphone!
I’m mentioning this here, because I’ve seen people on Twitter talk about this issue when deciding on which microphone to buy.
For example, they’ll ask questions like “which microphone can I buy that won’t show up on my camera.”
And when wrapping up a beta test of our new course on how to present effectively from your desk (it’s included in our signature course, Blast Off to Stellar Slides!), I was shocked to learn about a common concern that members had.
They were concerned that their audience would respond negatively if they saw the microphone in the webcam. 🤯😱
One member shared that she was anxious to let students see her mic, because she thought students would respond along the lines of, “wow. Who do YOU think you are?”
The concern is that you’ll look a bit elitist if you have a mic. That you’re flaunting money in front of your audience.
Is that a concern you have too?
Well my goodness, I’m so glad you’re here because that could not be further from the truth!
So if you’re wondering how to have good audio while not having the microphone show up on video, stop.
The BEST thing you can do is get that microphone all up on that video.
Show it off!
For starters, you paid good money for that mic. Don’t hide it!
Plus, your audio sounds better when the mic is close to your month.
But also: you make an instant connection with your audience and build instant trust when they can see a nice microphone.
When I start a video call with someone, 90% of the time the first thing they say is, “Whoa! Cool mic!” or something like that.
I bought my mic so I would have excellent audio. I did not expect it to be a fantastic ice breaker. Video calls are awkward, so having an easy icebreaker is great!
But beyond that, letting your audience see that you aren’t just using Apple Headphones — and that you invested in THEIR audio experience — is a visual signal to them that you care about their learning environment.
How could that possibly be a bad thing?
(It’s not).
Don’t hide your microphone from your webcam — show it off!
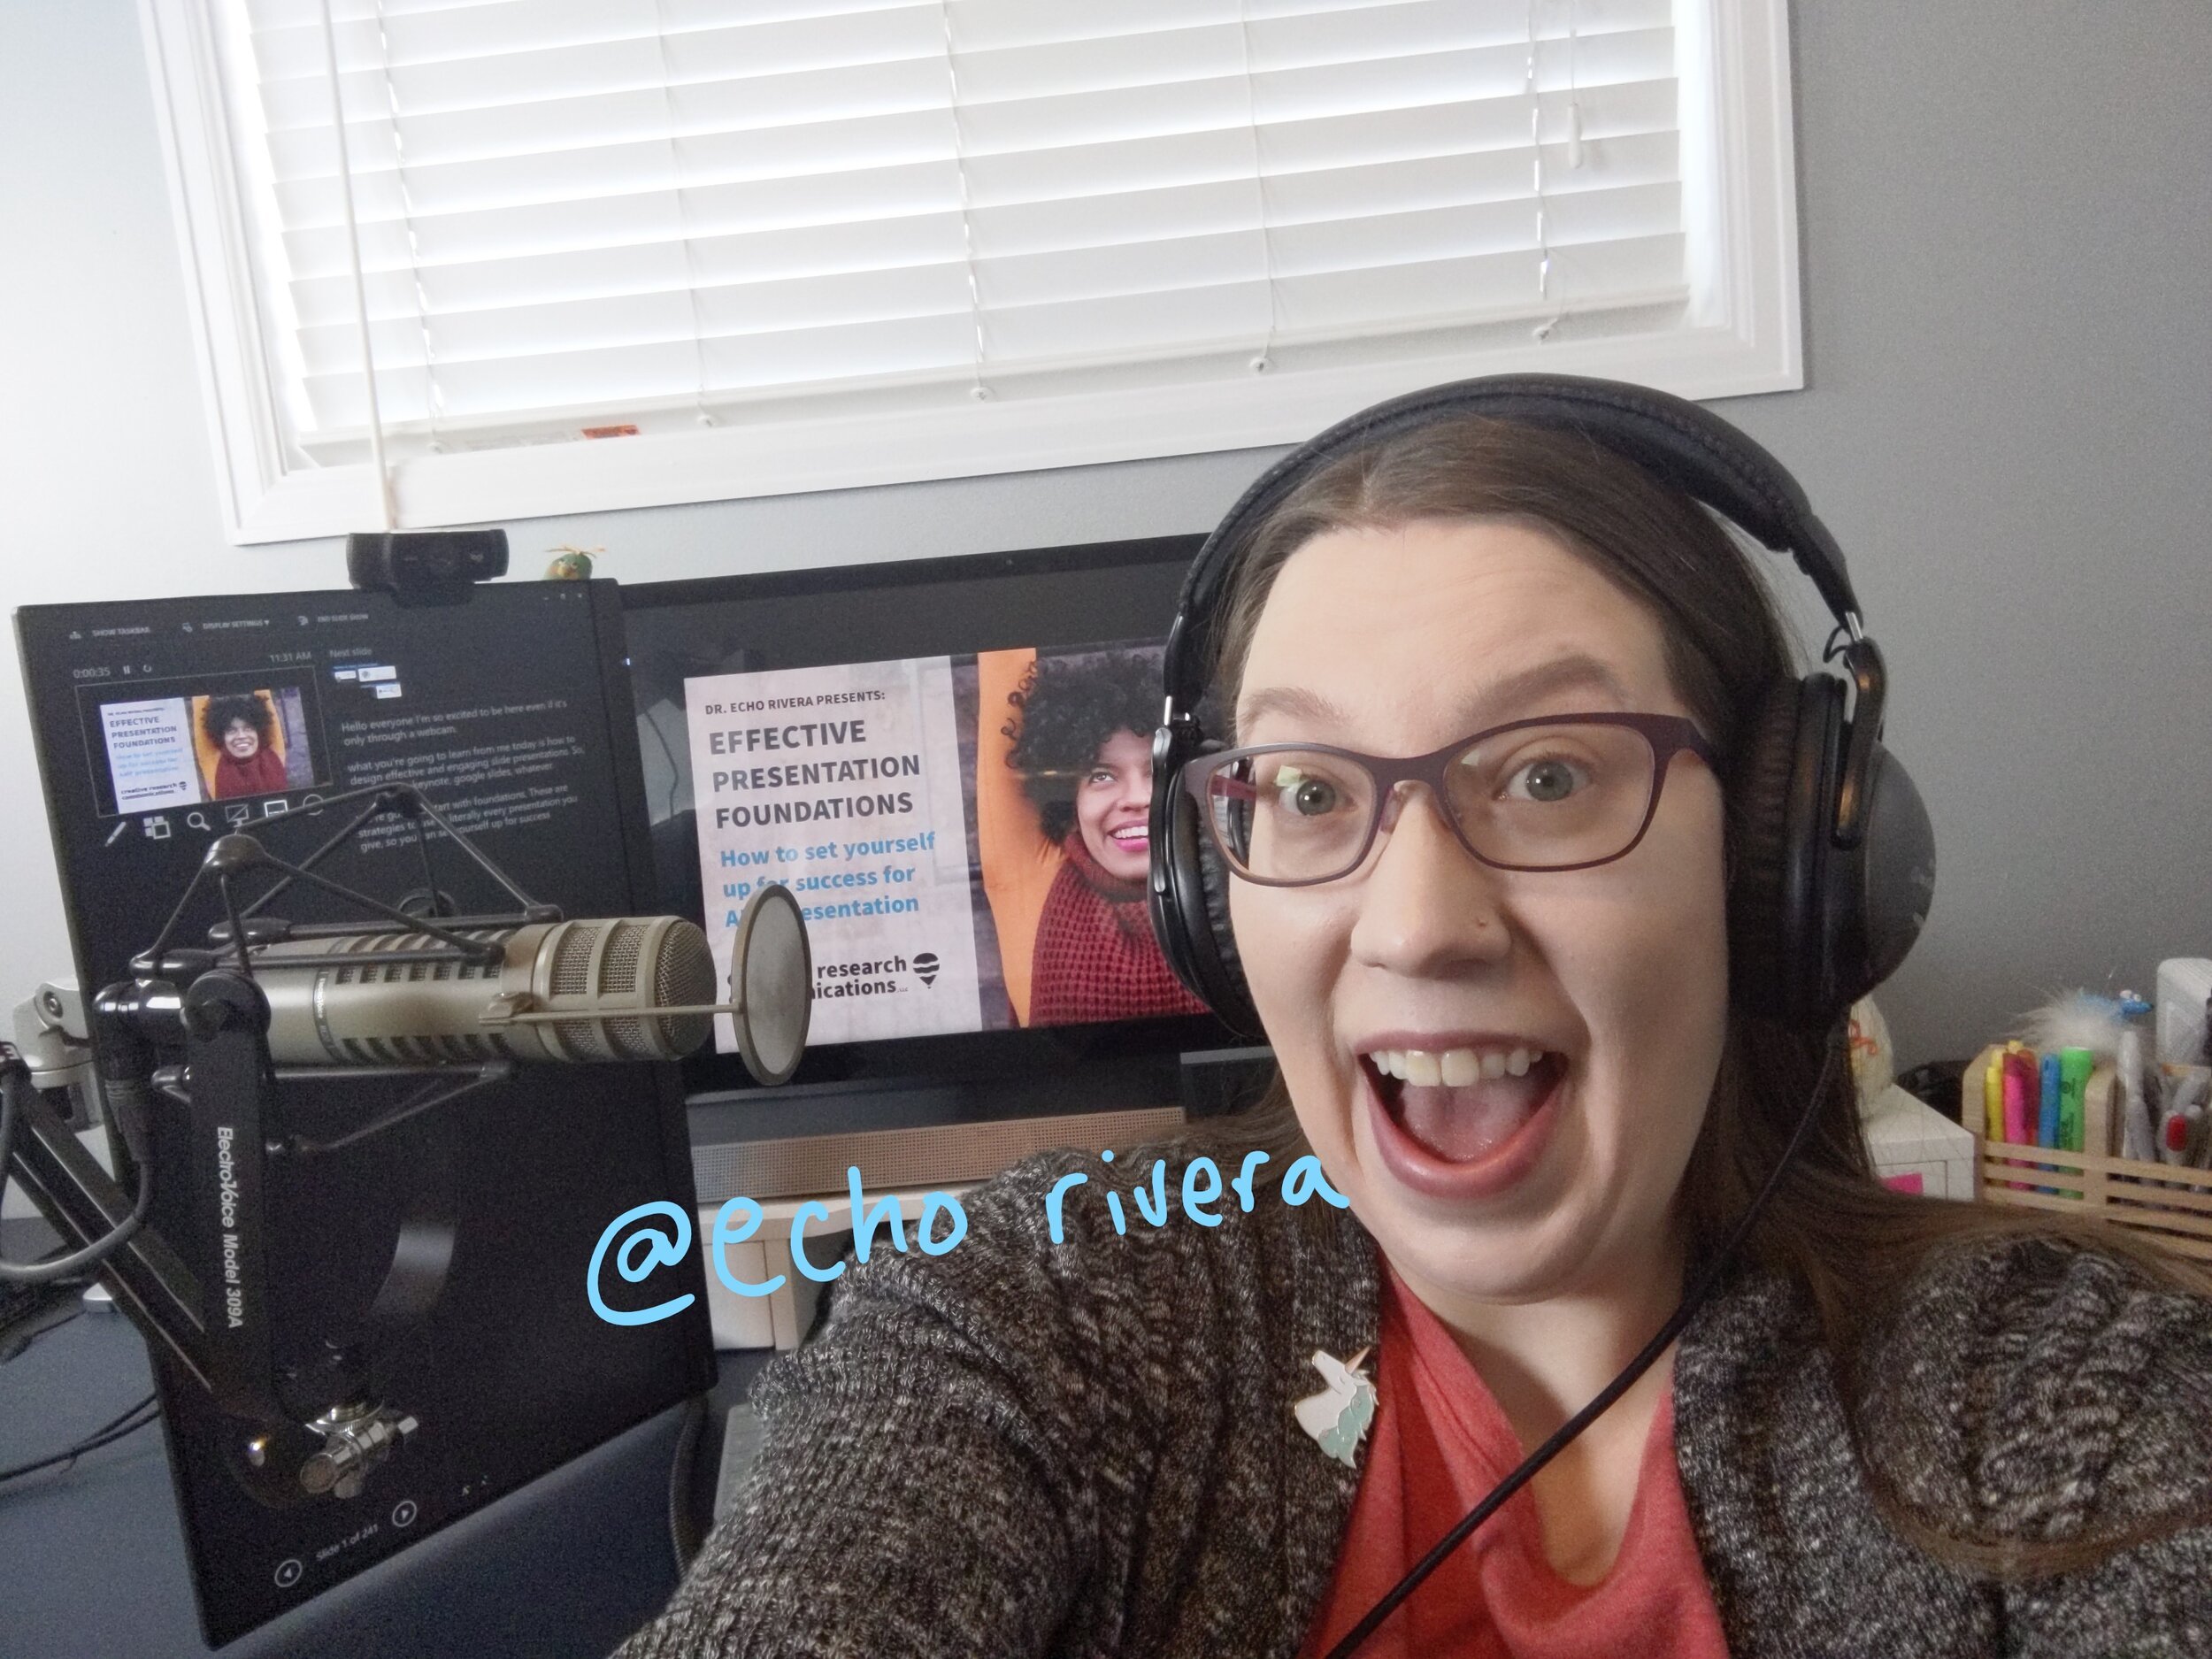
Note: That’s an Electrovoice RE20, not an ATR2100x
4. What mic should you buy? (And which one should you avoid?)
Okay now we’re at the big question.
But good news: I have a very easy answer for you: The ATR2100x
Done.
The ATR2100x is #1 recommendation because:
It’s a USB mic (that means you can plug it into your computer and it works)
It’s affordable (and so are the accessories)
You’ll see a noticeable improvement in your sound
It doesn’t pick up too much background noise
It has an XLR option which is great for future proofing!
Easy peasy!
Except, maybe not…?
Maybe you’ve heard of the Blue Yeti and you’re really surprised that I didn’t suggest it.
They Blue Yeti is really popular for some weird reason, and people were so surprised by my recommendation that I had to write an entire follow up blog post about why.
Read that post if you want to know more about why the ATR2100x (which is CHEAPER than the Yeti, by the way) is the clear winner over the Blue Yeti.
But just in case you’re getting all geeked out about audio now, then let’s take a quick break from text and switch to video.
Mic Test!
So far, you’ve been reading a lot about mic quality. Ready to hear the difference?
I sat down and tested 4 mics:
Audio-Technica ATR2100 vs Blue Yeti (via USB)
Audio-Technica ATR2100 vs Shure SM7b (via XLR/Interface)
Shure SM7b vs Electrovoice RE20 (via XLR/interface)
Technically I didn’t use an ATR2100x, I used an ATR2100. But from what I read, the ATR2100x is basically the same. So the demo should still apply just fine to the newer version.
I did 3 comparisons (with 4 mics) in the video:
Audio-Technica ATR2100 vs Blue Yeti (via USB)
Audio-Technica ATR2100 vs Shure SM7b (via XLR/Interface)
Shure SM7b vs Electrovoice RE20 (via XLR/interface)
ATR2100 (via USB) vs Blue Yeti
[Beginning - 6:50]
Both of these are USB mics which means you can plug them directly into the computer and it will pick up your audio.
I used the Yeti to record the first batch of videos in my online professional development course, Blast Off to Stellar Slides. It was a nightmare to use so I later switched to the ATR2100 and liked it way better. Watch the video to hear the difference between the two of them—the ATR is a clear winner in my opinion. It might not seem like a big difference in the short video, but the thing is — bad audio slowly builds up over time, so the longer people listen to it, the more annoying it gets.
The Yeti audio is way too loud, picks up too much background noise, doesn’t sound that great (empty and tinny), and was really hard to deal with when editing the videos. And, “clipping” (when your voice gets too loud and distorts) happened ALL. THE. TIME. At first, you might have liked the Yeti better than the ATR in the video because it was louder—but don’t let that trick you. Over time, it becomes grating to listen to audio recorded on a Yeti—in part because it picks up EVERY LITTLE NOISE that happens around you.
In contrast, the ATR2100 picks up almost no background noise, so if you are in an office environment, have a loud computer fan, or have noisy neighbors, then don’t even think about getting that Yeti—get the ATR2100. I also liked the ATR better because my voice came out as softer. It was also easier to deal with while editing.
However, even though the ATR was a million times better than the Yeti, I was never really thrilled with it for my online course and YouTube channel videos. It always sounded empty and flat, and I still had problems with “clipping.” So, time to upgrade!
I know that some folks will think I’m being too hard on the Yeti—A lot of people use a Yeti and think it sounds good or fine. I used to think so too, until I heard audio coming from a high quality mic. If you still think a Yeti is good enough after watching my video, check out this video by Booth Junkie where he explains the limitations of a Yeti (and really any USB mic). Once you hear your voice using one of the mics I test in the later groups, you’ll hear what I mean.
ATR2100 (via XLR/Interface) vs Shure SM7b
[6:50-11:12]
But, what’s really cool about the ATR2100 is that you can do things to upgrade the sound without buying a more expensive mic (say what!). That’s because it’s a USB mic AND it has an XLR output which means you can use a fancypants mic cord, plug it into this thing called an audio interface (and then the interface gets plugged into you computer), and BOOM! Instant better sound!
Note: Fancypants mics (like the Shure and Electro-voice) do not have a USB option—you’ll need to plug into an interface to use them.
That’s why in the video, I also do a middle ground test where I compare the sound for the ATR via an interface (We use the Focusrite Scarlett 2i2) compared to the Shure Sm7b. Honestly, I was shocked at how much better the ATR sounded after that! While I was recording, I didn’t hear a gigantic difference between the mics, and when I watched the video there were a couple times where I couldn’t hear a difference.
There is a difference, of course. The Shure picks up less background noise and if you pay attention, you will hear a better range and depth in my voice. Plus, my video editor said it was easier to work with in post-production (for an upcoming video, we didn’t do any post-processing on this one) than the ATR. So, obviously if you have the budget for (and want) the Shure, it’s better than the ATR.
BUT STILL. Can you believe how good the ATR sounds with the upgrade? That’s a perfect option for academics, scientists, evaluators, and researchers who just need a good mic for webinars and meetings. Honestly, I’d even recommend the ATR plugged in this way for an online course—that’s how good I thought it sounded.
Shure SM7b vs Electrovoice RE20 (via XLR/interface)
[11:12 - end of video]
Alright. The final showdown! The two fancy mics compared to each other: the Shure and Electro-voice RE20. Again, these mics are more for folks like me who do online courses and/or have a YouTube channel/Podcast.
When I recorded the video, I had no idea which one I would like more. That was my first test of the mics, so I basically just talked and ended the video, then waited with bated breath for the final video.
I was really happy with the sound for both mics. Clean, clear, crisp, minimal background noise. All the things you want in a good mic. So it’s a little hard to choose a winner, in my opinion. It’s going to depend on your voice—you can’t go wrong with either one.
But as I was listening to it, I noticed that when it would go from the RE to the Shure…something happened. It took me a while to figure it out, but it was like the color to my voice left. Did you notice that, too? I didn’t notice it when going from the Shure to the RE, but when going back to the Shure it was like my voice fell flat. Like a little bit of the life in my voice was cut off.
The way my video editor explains it, it’s like the Shure is an almost-perfect and digital-like representation of my voice. The RE, on the other hand, gives your voice a little bit of color boost and warmth—almost like how old radio announcers sounded. That makes sense to me, and is ultimately why we decided on the RE for my new fancypants mic.

I <3 my RE20!
5. What accessories to buy
You need a few accessories to go with your microphone to make sure you’re getting the most out of your audio.
You’ll want to have a foam cover to reduce the breath noises you make when talking.
A pop guard is what helps reduce the harsh sound of your “p’s”, so I recommend that.
And finally, you need a way to prop up your microphone. The ATR2100x usually comes with a desk stand (tripod), so that’s a great place to start.
If you struggle with finding a good spot for your mic, then consider getting a boom arm.
6. How much should you expect to spend
I’m hoping you didn’t just skip to this section before reading the above sections, because the above context is really important.
But after the last couple of sections, you might be wondering what you should expect to spend if you want to have some basically decent audio.
There is a special bundle that pops up on Amazon frequently, and it includes:
The microphone (of course)
Desk stand/tripod
Shock mount
Pop filter
Boom filter

All for $130 USD (as of December 2020). 🤯🙌
This is such a good deal I could cry!
I didn’t link to the bundle because it sells out really fast and the listing changes a lot. All I did was search “ATR2100x” on amazon, and it was one of the first results.
All you need is a foam cover, which is usually suggested when you add the mic to your cart. They’re usually like $4.00 USD.
If you don’t see that bundle and you can’t wait for it to pop up again, then you’ll just have to create your own bundle and buy the accessories one by one.
Just be careful when you’re buying a boom separately…it can be tricky to get the right sizes.
If you gasped at how expensive $130 is, then let me contextualize that a little bit for ya.
A truly professional, expert-level microphone can cost $5,000 microphones.
My current setup cost around $1,000 USD (see below).
The ATR2100x is the perfect budget microphone (scary, I know!).
I’m not just recommending the most expensive thing I can think of.
I promise you, I don’t have too high of standards for what you’re doing.
The ATR2100xtruly is the best microphone I know of that balances affordability with quality.
As of December 2020, $129 gets you just the Blue Yeti mic. No accessories (and you will need the accessories).
And that one doesn’t even have an XLR option! That means it doesn’t even have the same features as the ATR2100x, and it means you have no future-proofing. If you want the XLR option with a Yeti, you need to pay $170 just for the mic. And that doesn’t even include the accessories, which all have to be specialized (i.e., more expensive) because the Yeti is REALLY heavy and requires special equipment!
So, again. I know $130 can be a lot. But I truly am offering you the better and cheaper option than what other people usually recommend—and you’ll have better sound!
$130-$160 (or so) is the lowest you can go to have decent audio. I’m sorry to be the one who has to break the news to you 😣, but that’s just the way the technology is.
Yes, there are cheaper USB mics than the ATR2100x, but you’re better off saving up for a couple months and getting the ATR2100x. Those cheaper mics might as well be a webam mic—they don’t sound good.
7. Tips for decent audio
Now that you have your microphone and accessories, here are 3 of my top tips to help you have decent audio:
Put the mic close to your mouth
Have soft fluffy things in the room (carpet, rugs, etc) to soak up the sound
Practice!
You might be surprised that practice made the list, but it’s actually really important.
For example, I say “PowerPoint Presentation” a lot, and I had to practice saying my P’s in a way that weren’t so hard.
So if you notice that certain words or sounds seem to stand out in a bad way, then just practice saying them softer or turning your head slightly when you say that word/sound.
Now, keep in mind that you’re still going to have some background noise.
And there still might be a little bit of an echo-y or empty sound.
But the sound is pretty fantastic considering how cheap this mic is. If you want a mic that picks up no background noise and sounds warm and full…you’ll need to spend $500+ or so.
So, if you don’t love your sound at first, keep trying different arrangements and placements. And make sure you have the accessories I mentioned above.
If you ever need help figuring out how to set this all up, we have detailed walkthrough videos about this type of thing in our online program (the “present from your desk” course). We also talk about things like using webcams, great lighting, headphones, video editing, and more! It’s pretty comprehensive :)

Snapshot of a course video we created to explain how far you should (and should not) be from your mic. This course is included in Blast Off to Stellar Slides!
8. Bonus: Take your audio to the geeky level
Ok if you’re geeking out about audio right now, then you’re probably curious about my current setup.
Warning: this setup is NOT necessary for 90% of academics, scientists, or educators.
This makes sense for me because I run an online comprehensive professional development program, and I’m constantly giving webinar trainings or hosting group coaching calls about presentation design.
I wanted everyone in my program to have an amazing sound experience and to know I was deeply invested in their learning experience.
This type of setup is something to consider if you:
Have a big YouTube channel
Have a popular podcast
Do a lot of paid online workshops or webinars
Run your own online course as a business

My setup:
Microphone: Electrovoice RE20 (with EV RE pop filter + shockmount)
Interface: Focusrite 2i2
Pre-amp: dbx 286s
Boom arm: Rode
It cost about $1,000 USD in late 2019 and I’ve absolutely loved it. More importantly, my audience has loved it, too!
But again, you probably don’t need this for what you’re doing.
I’m sharing this because people ask to see my setup a lot :)
And because this gives you a clear example of why spending $130 on a mic and still getting decent sound is pretty amazing.
I hope it demonstrates that I’m not projecting my audio needs onto you.
I really did keep academics on a budget in mind when making this suggestion. If there was a $10 mic that sounded good, I would have recommended that!
If you found this post to be helpful, then you’re going to LOVE my free training video!
I love that you found your way to this blog post, because it means you want to have decent audio and give your audience a positive learning experience.
That tells me you might also be interested in learning how to improve your audience’s learning experience in another way: through engaging presentations!
If that’s true, then check out my FREE training about engaging presentations: